


Printable Sentiments for Baby Cards
Posted by LINDSEY SMITH

 Our Sugartown Greetings note cards come blank inside, making it easy to completely personalize the inside. However, we understand that sometimes people WANT a sentiment already written on the inside... so we've come up with the perfect solution!
I've put together a few different options of sentiments for inside your Baby Thank You / Baby Congratulations cards! Simple choose which sentiment(s) you want printed in your card, download the PDFs below and follow the print instructions we've included at the end of this post. :)

"Tiny fingers and wiggly toes,
Chubby cheeks and scrunchy nose.
Squishy legs and arms that jiggle,
Sweet soft coos and adorable giggle.
Congratulations on your newest arrival!"
Right Click and "Save" Here to Download Our Baby "Congratulations" PDF
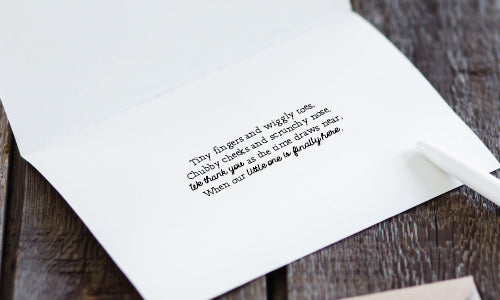
"Tiny fingers and wiggly toes,
Chubby cheeks and scrunchy nose.
We thank you as the time draws near,
When our little one is finally here."
Right Click and "Save" Here to Download Our Baby "Thank You" PDF

"Tiny fingers and wiggly toes,
Chubby cheeks and scrunchy nose.
Squishy legs and arms that jiggle,
Sweet soft coos and adorable giggle."
Right Click and "Save" Here to Download Our Generic Baby PDF

"Babies are blessings sent from above,
God's special gift of pure, sweet love. "
Right Click and "Save" Here to Download Our Religious Baby PDF
Before You Print, Please Note...
Printing on our Sugartown Greetings note cards is easy and can save a lot of time! These note cards are the standard size of 4.875" wide by 3.375" tall when folded. They measure 4.875" x 6.75" when unfolded, which is the size we're going to work with in this tutorial.Setting Up Your Printer
These printable PDFs are set up to measure 4.875" x 6.75" - the same as the note card unfolded. The next step is to set up your printer to work with the custom size! You can do this from within your program, whichever that may be. All you need to do is go to your printer properties and locate where the paper size setting is.Most of the time, this is a simple drop down menu. Unfortunately, the note card size is not always listed in the drop down, so you may need to create a custom size. In the drop down menu or somewhere near the paper size menu, you should see a place for you to create a custom size. Once you find that, simply set up the width to 4.875" and the height to 6.75".
IMPORTANT NOTE: Some printers actually do not allow custom sizes. Unfortunately, in these cases, we do not have a solution other than using / purchasing another printer. You may also reference your printer's user manual for additional guidance on printing on custom sized paper if this blog post doesn't apply to your printer.
Printing Your Cards
(*Please note that these printer icons apply to MOST printers, but not all. Please always do a test print before printing on your card.) After the printer is set up, you need to place the cards in the printer in the appropriate direction so that the printer prints in the right spot. To do this, locate the printer paper icon in the paper tray when loading. If the icon shows the lines on the front of it, then the printer will print on the side of the paper facing up. If the paper icon is blank with lines on the folded corner, then it will print on the back-side of the paper loaded into the tray. Once you figure that out, you need to also look at where the folded corner is located. That indicates the top of the paper. Of course, when loading the cards, remember that you are printing on the blank side of them and load accordingly!
Collection 2019
Sale 70% Off
Third slide